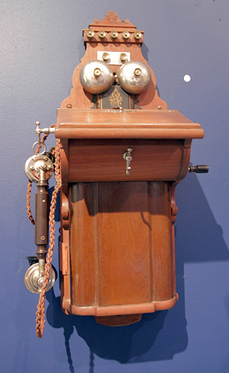
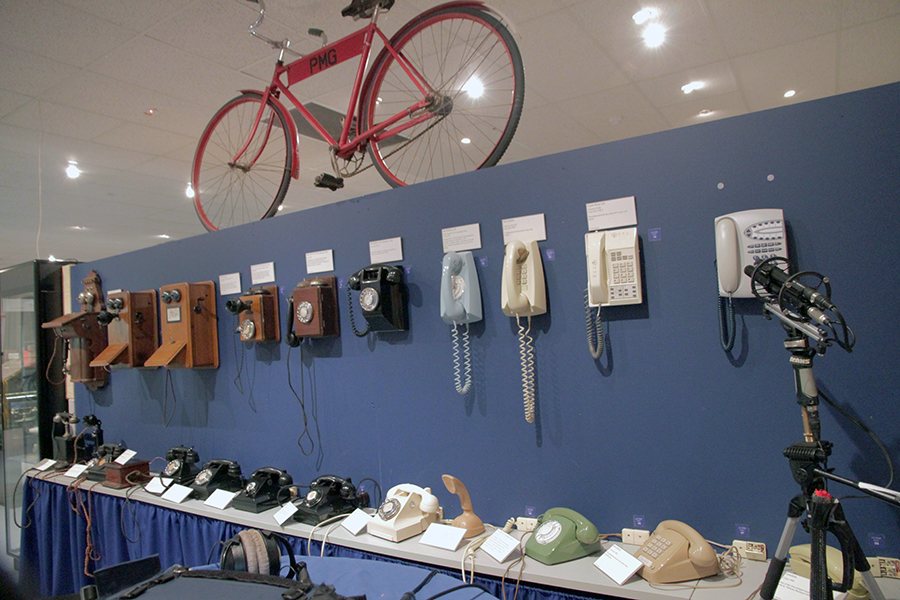
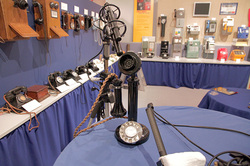
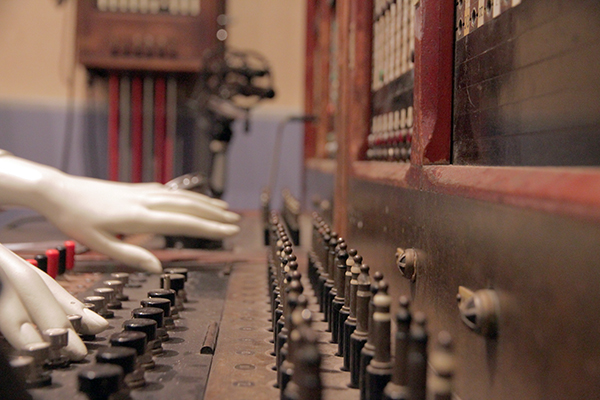
Recording good sounds is a great way to grow your Sound Design skills, but if you don’t keep yourself organised, it can become a nightmare when you’re trying to find a specific sound for a project. We kept this in mind recently when we had the fascinating opportunity to visit the archive museum of Australia’s national telephone network, the Victorian Telecommunications Museum. x Telstra, once known as Telecom, was Australia’s national telephone network before it was privatised towards the end of last century. Fortunately for us, the new corporation saw some value in preserving history, giving us a fascinating insight into a whole range of fully function telecommunications devices from the earliest beginnings right through to current technology. The biggest challenge when trying to record a collection like this is keeping yourself organised and making sure you prioritise your recordings to get the rarest or most interesting items first. Stephan had a similar challenge working solo when recording part of our Firearms Foley Collection in Lithgow, Australia. Fortunately, this time we had more hands available to get the job done and stay organised. Before you get started on a project like this, it’s important to make sure the memory on all of your devices is completely clear, and you’ve got fully charged batteries.
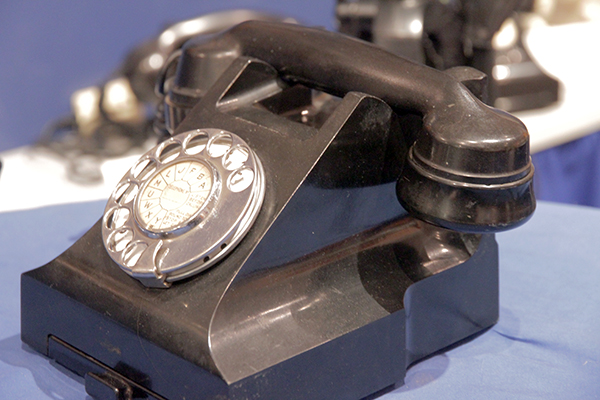
Before recording the object itself, we dictate the same information onto our recording device. This means that later on, when we’re recording Object 5, 1950s telephone, created 1951, we have a nice and easy way to synchronise our photos and items. It also makes it much easier if we want to document additional information about an object, such as a volunteer telling us extra information, or other notes or paperwork. It is absolutely, vitally, important to keep your order straight. Object description > photographs > describe device in recorder > record all device sounds. If you have taken a bunch of photos and recordings already and realise you want to take another one, leave it until the end and document it properly again. Or simply don’t do it. It’s just not worth the pain of trying to work out what was where and which device was which later on. We have been fortunate in our visits to the museum so far, to have a very knowledgeable volunteer who both knows how to make everything work, and also knows a lot about the history of the different items. On the flip side, when you get someone who is passionate about their object of interest, and has a long history, they can be quite chatty once you get them going.
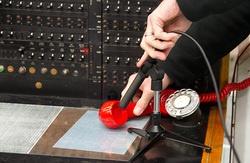
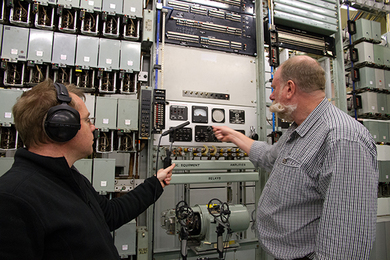
We used several mics including a Sanken CS1e for a lot of our device recordings, and it is a great directional mic for this kind of recording. Even though the museum had a significant level of ambience from fans and machinery, and was located on a busy road, we found ourselves able to capture some wonderfully clean sounds through careful microphone positioning, timing and getting the recording levels right. With an archiving project such as what we’ve been doing with this telecommunications museum, we find it is simply impossible to get it all done in one hit. We’ve already visited three times (including scouting), and have at least another two sessions booked.
The Sound Librarian team always makes a copy of our sound recordings available to museums for their own use as well as contributing to the Australian National Film and Sound Archive, to ensure that sounds from these unique objects are never lost.
1 Comment
|
AuthorThe Sound Librarian team has collectively over 15 years of experience working in games, music and sound design. Archives
October 2014
Categories
All
|
 RSS Feed