|
We are proud to share that we’re sponsoring the exciting documentary “Beep: a documentary history of video game sound”. They already have a huge list of key industry figures across the world lined up for interview, and we hope it will provide some great insights into the way audio for games has developed over the years. If you are involved in game audio in any capacity, we encourage you to get behind this brilliant project that will help explain what we do to the whole world. Support the campaign here.
0 Comments
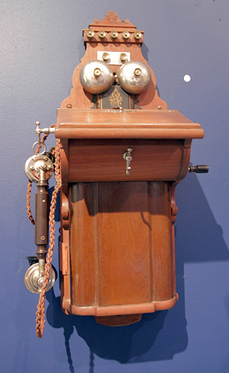
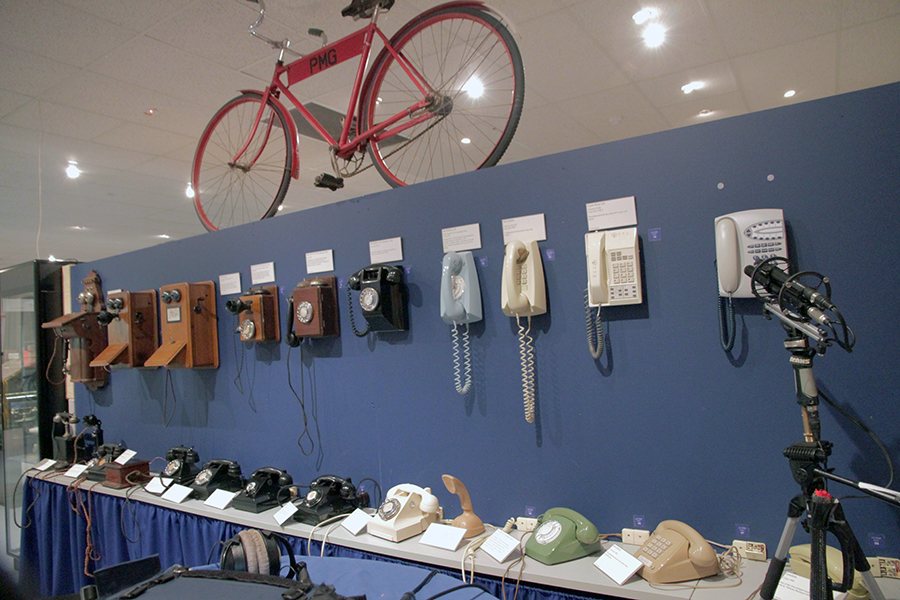
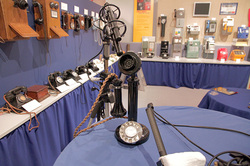
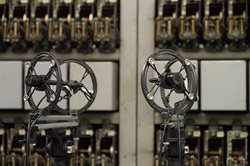
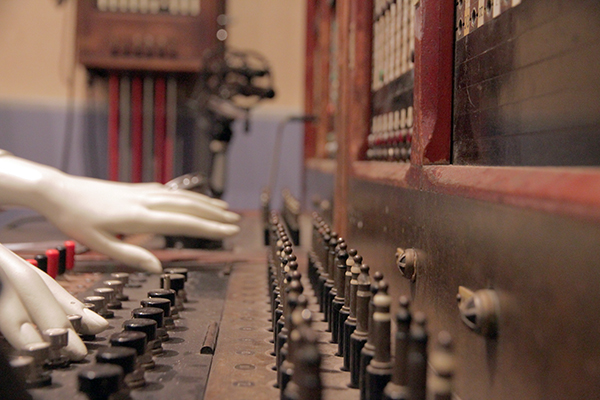
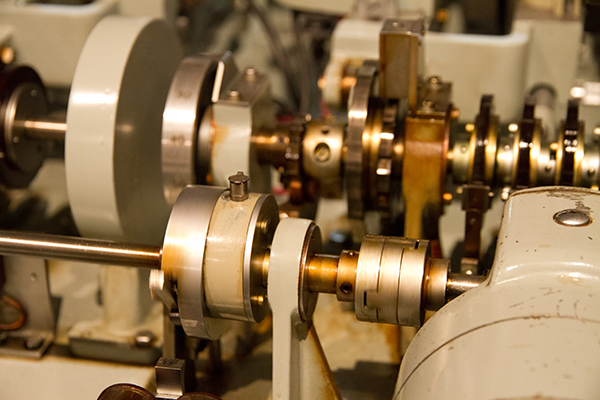
Recording good sounds is a great way to grow your Sound Design skills, but if you don’t keep yourself organised, it can become a nightmare when you’re trying to find a specific sound for a project. We kept this in mind recently when we had the fascinating opportunity to visit the archive museum of Australia’s national telephone network, the Victorian Telecommunications Museum. x Telstra, once known as Telecom, was Australia’s national telephone network before it was privatised towards the end of last century. Fortunately for us, the new corporation saw some value in preserving history, giving us a fascinating insight into a whole range of fully function telecommunications devices from the earliest beginnings right through to current technology. The biggest challenge when trying to record a collection like this is keeping yourself organised and making sure you prioritise your recordings to get the rarest or most interesting items first. Stephan had a similar challenge working solo when recording part of our Firearms Foley Collection in Lithgow, Australia. Fortunately, this time we had more hands available to get the job done and stay organised. Before you get started on a project like this, it’s important to make sure the memory on all of your devices is completely clear, and you’ve got fully charged batteries.
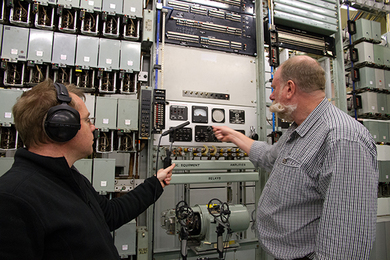
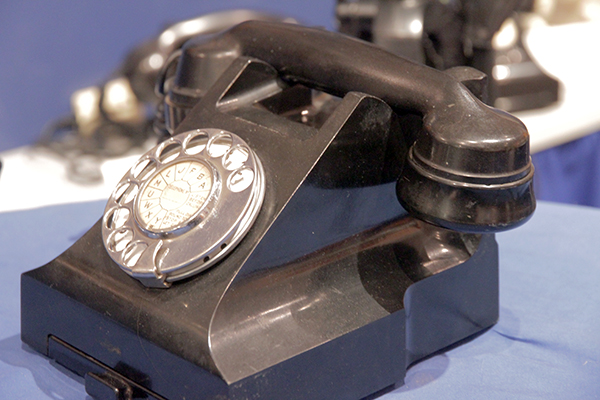
Before recording the object itself, we dictate the same information onto our recording device. This means that later on, when we’re recording Object 5, 1950s telephone, created 1951, we have a nice and easy way to synchronise our photos and items. It also makes it much easier if we want to document additional information about an object, such as a volunteer telling us extra information, or other notes or paperwork. It is absolutely, vitally, important to keep your order straight. Object description > photographs > describe device in recorder > record all device sounds. If you have taken a bunch of photos and recordings already and realise you want to take another one, leave it until the end and document it properly again. Or simply don’t do it. It’s just not worth the pain of trying to work out what was where and which device was which later on. We have been fortunate in our visits to the museum so far, to have a very knowledgeable volunteer who both knows how to make everything work, and also knows a lot about the history of the different items. On the flip side, when you get someone who is passionate about their object of interest, and has a long history, they can be quite chatty once you get them going.
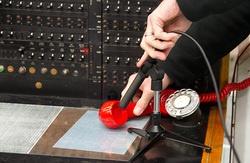
We used several mics including a Sanken CS1e for a lot of our device recordings, and it is a great directional mic for this kind of recording. Even though the museum had a significant level of ambience from fans and machinery, and was located on a busy road, we found ourselves able to capture some wonderfully clean sounds through careful microphone positioning, timing and getting the recording levels right. With an archiving project such as what we’ve been doing with this telecommunications museum, we find it is simply impossible to get it all done in one hit. We’ve already visited three times (including scouting), and have at least another two sessions booked.
The Sound Librarian team always makes a copy of our sound recordings available to museums for their own use as well as contributing to the Australian National Film and Sound Archive, to ensure that sounds from these unique objects are never lost.
Designing Sound kindly reviewed our Recording Workshops course. This course comprises video taken from the workshops we ran in 2012 and 2013 on recording sounds. They were a lot of fun to run and we got great feedback from our attendees, so we decided to put all the video we'd collected into a course so those who couldn't make it to Melbourne could see what we got up to. As a bonus, we have made over 6 gig of sound recordings from different mics available as well. These are not edited, to allow our students to compare the different mic perspectives and practice editing this kind of sound themselves.
Read their review here.
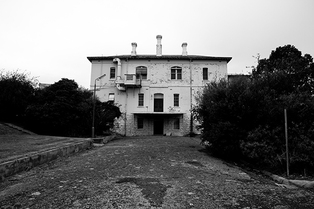
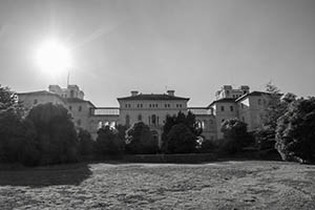
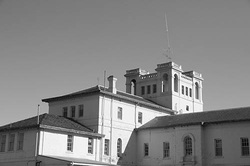
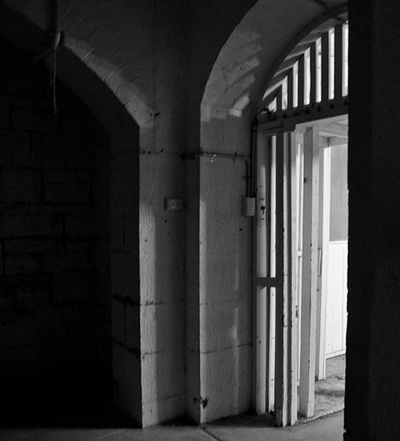
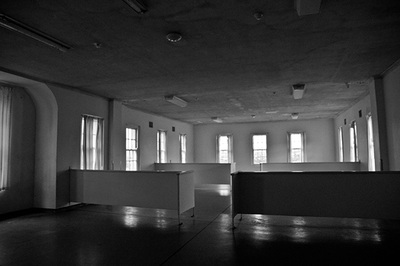
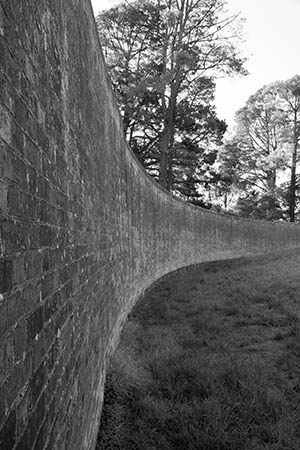
Originally known as the Ararat Lunatic Asylum, Aradale was commissioned to accommodate a growing number of “lunatics” in the colony of Victoria in the mid-1800s. Construction on the oldest buildings began in 1860, and over the years until it was closed in 1998, various additional buildings were constructed, creating a fascinating eclectic range of buildings from different eras.
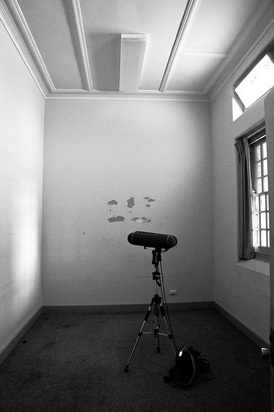
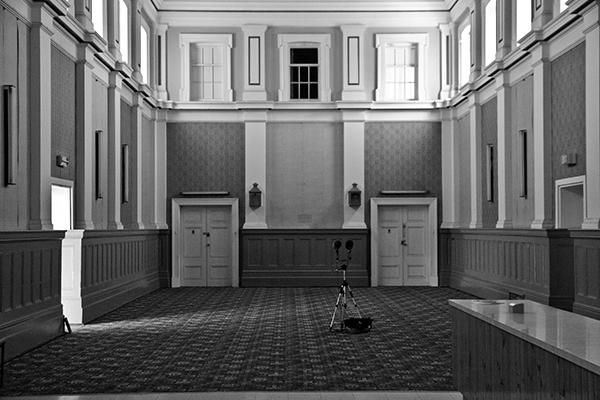
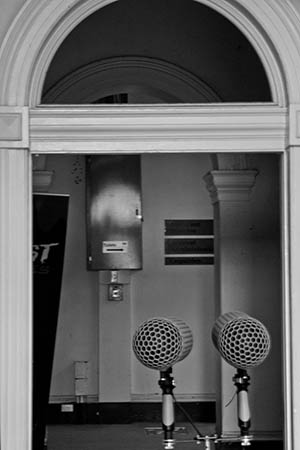
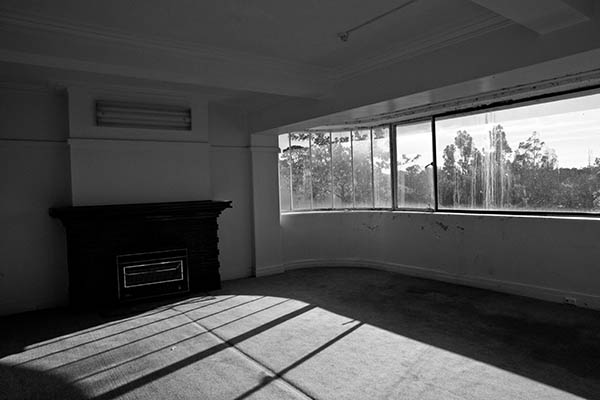
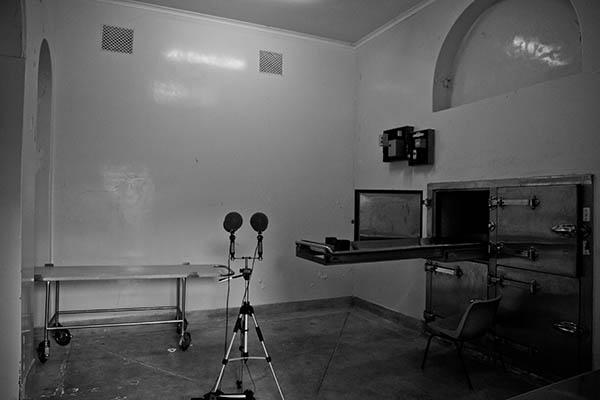
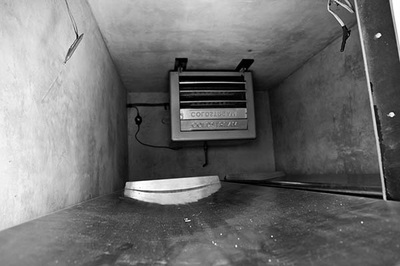
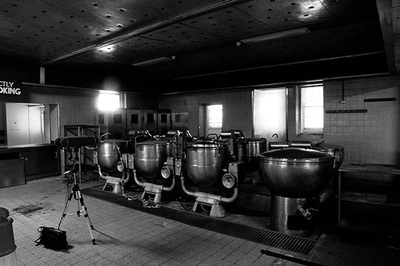
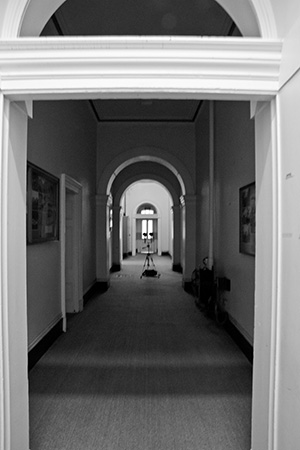
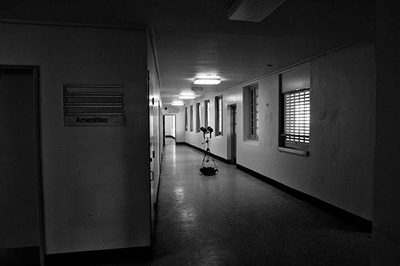
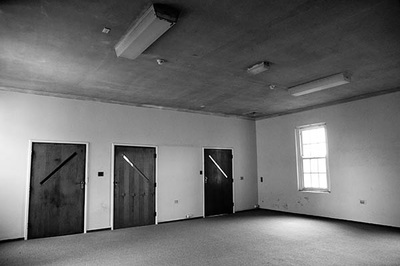
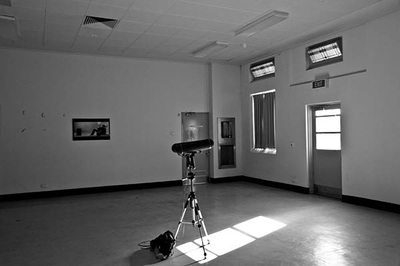
Film and television Sound Recordists often capture 30-60 seconds of room tone for the project they are working on, so that if any additional sounds are added later, they can have a consistent background sound added to that footage without any jarring differences. This video on YouTube is a long-winded but effective demonstration of the concept. Room tones are also an important tool when creating good game audio. Unlike in film or television, game dialogue and sound effects are not usually recorded in a room together with all the other low-level sounds found on a set or location. Most sound designers record each element individually and combine them together using a tool such as FMOD Studio, Fabric or Wwise. This method can lead to there being no room tone at all, and as I mentioned earlier, silence is not a normal state for the world. Even with sound effects and music, the absence of a room tone can give a sense of the game audio somehow lacking, even if the player can’t point directly to what is missing. As our name suggests, sound libraries are a core part of what we do at Sound Librarian. We have spent many years recording and creating a huge selection of sounds tailored for game audio, but we recently realised that although we have created assorted ambiences and environmental sounds, we have not yet created a dedicated library of room tones. A somewhat spooky set of run down historical buildings seemed like a good place to start. Armed with a quad microphone surround sound setup we hid ourselves away from the world for a couple of days. Over the two days of access, we would set up in each room, take a photo of the room as a visual guide, note the dimensions of the room and then use our trusty starter pistol to create an impulse and capture the impulse response for each room. This let us define the reverberant qualities of each room, meaning a sound designer can consistently layer additional sound effects on top of the room tone and add reverberation accordingly.
At one point we had to go outside and actively chase away a particularly inquisitive crow that had decided to keep a running commentary on our activities, our trusty stater pistol did a great job there. Recording your own Room Tones
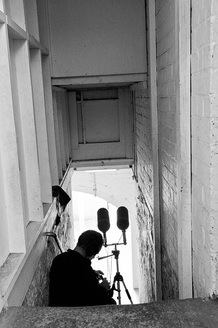
This provided a single object on a camera tripod (lighter than a mic stand) that could be easily deployed into each room as necessary. The mics were all fed into a Sound Devices 788T SDD. Because of the extremely quiet nature of the recordings the levels were set to 50dB which is higher than we would usually use on this device, but well within its noise floor. The impulse responses needed to be captured at a much lower level due to the extreme output of the cap gun combined with reverberation in the small rooms. So in each room the levels would be altered from 50dB for the room tone down to 3db to capture the impulse response. This process did add extra time to the day as each room needed to involve a careful reset of the input levels across 4 channels, but it ensured we were able to capture both room tones and impulse responses for over 70 spaces over the two-day period. We also removed the wind screens as they were not required indoors and when capturing such low level sounds we wanted to remove anything that might have any chance of affecting the sounds being picked up. Safety In everything we do, we keep safety foremost. The buildings we were in were very old and crumbling in places. Always make sure you are aware of your surrounding environment and safety issues when doing location recording. Considering Others Wherever you are recording, it is important to make sure those around you know what you are doing. We made sure to get permission to access and record the buildings and also made sure that those present on the day knew what we were doing. This avoided interruptions and questions about the noise we were generating with the starter pistol and also ensured we were comfortable to get on with the job and not worry about what others were doing. So what’s next for our room tones library? We’ve got a number of cool old churches, another ex-insane asylum to explore, even an old convent. We are on the constant lookout for new and interesting locations. Our goal is to create a useful collection, so we’re also recording our own house, office spaces and other areas we can get access to. Many thanks to the volunteers at Friends of J Ward and staff at Aradale for unlocking the rooms and providing fascinating historical insights and to NMIT for allowing us access to the site. Check out our sound library collection here.
|
AuthorThe Sound Librarian team has collectively over 15 years of experience working in games, music and sound design. Archives
October 2014
Categories
All
|

 RSS Feed